Pro Program Live Chat +8619050185756

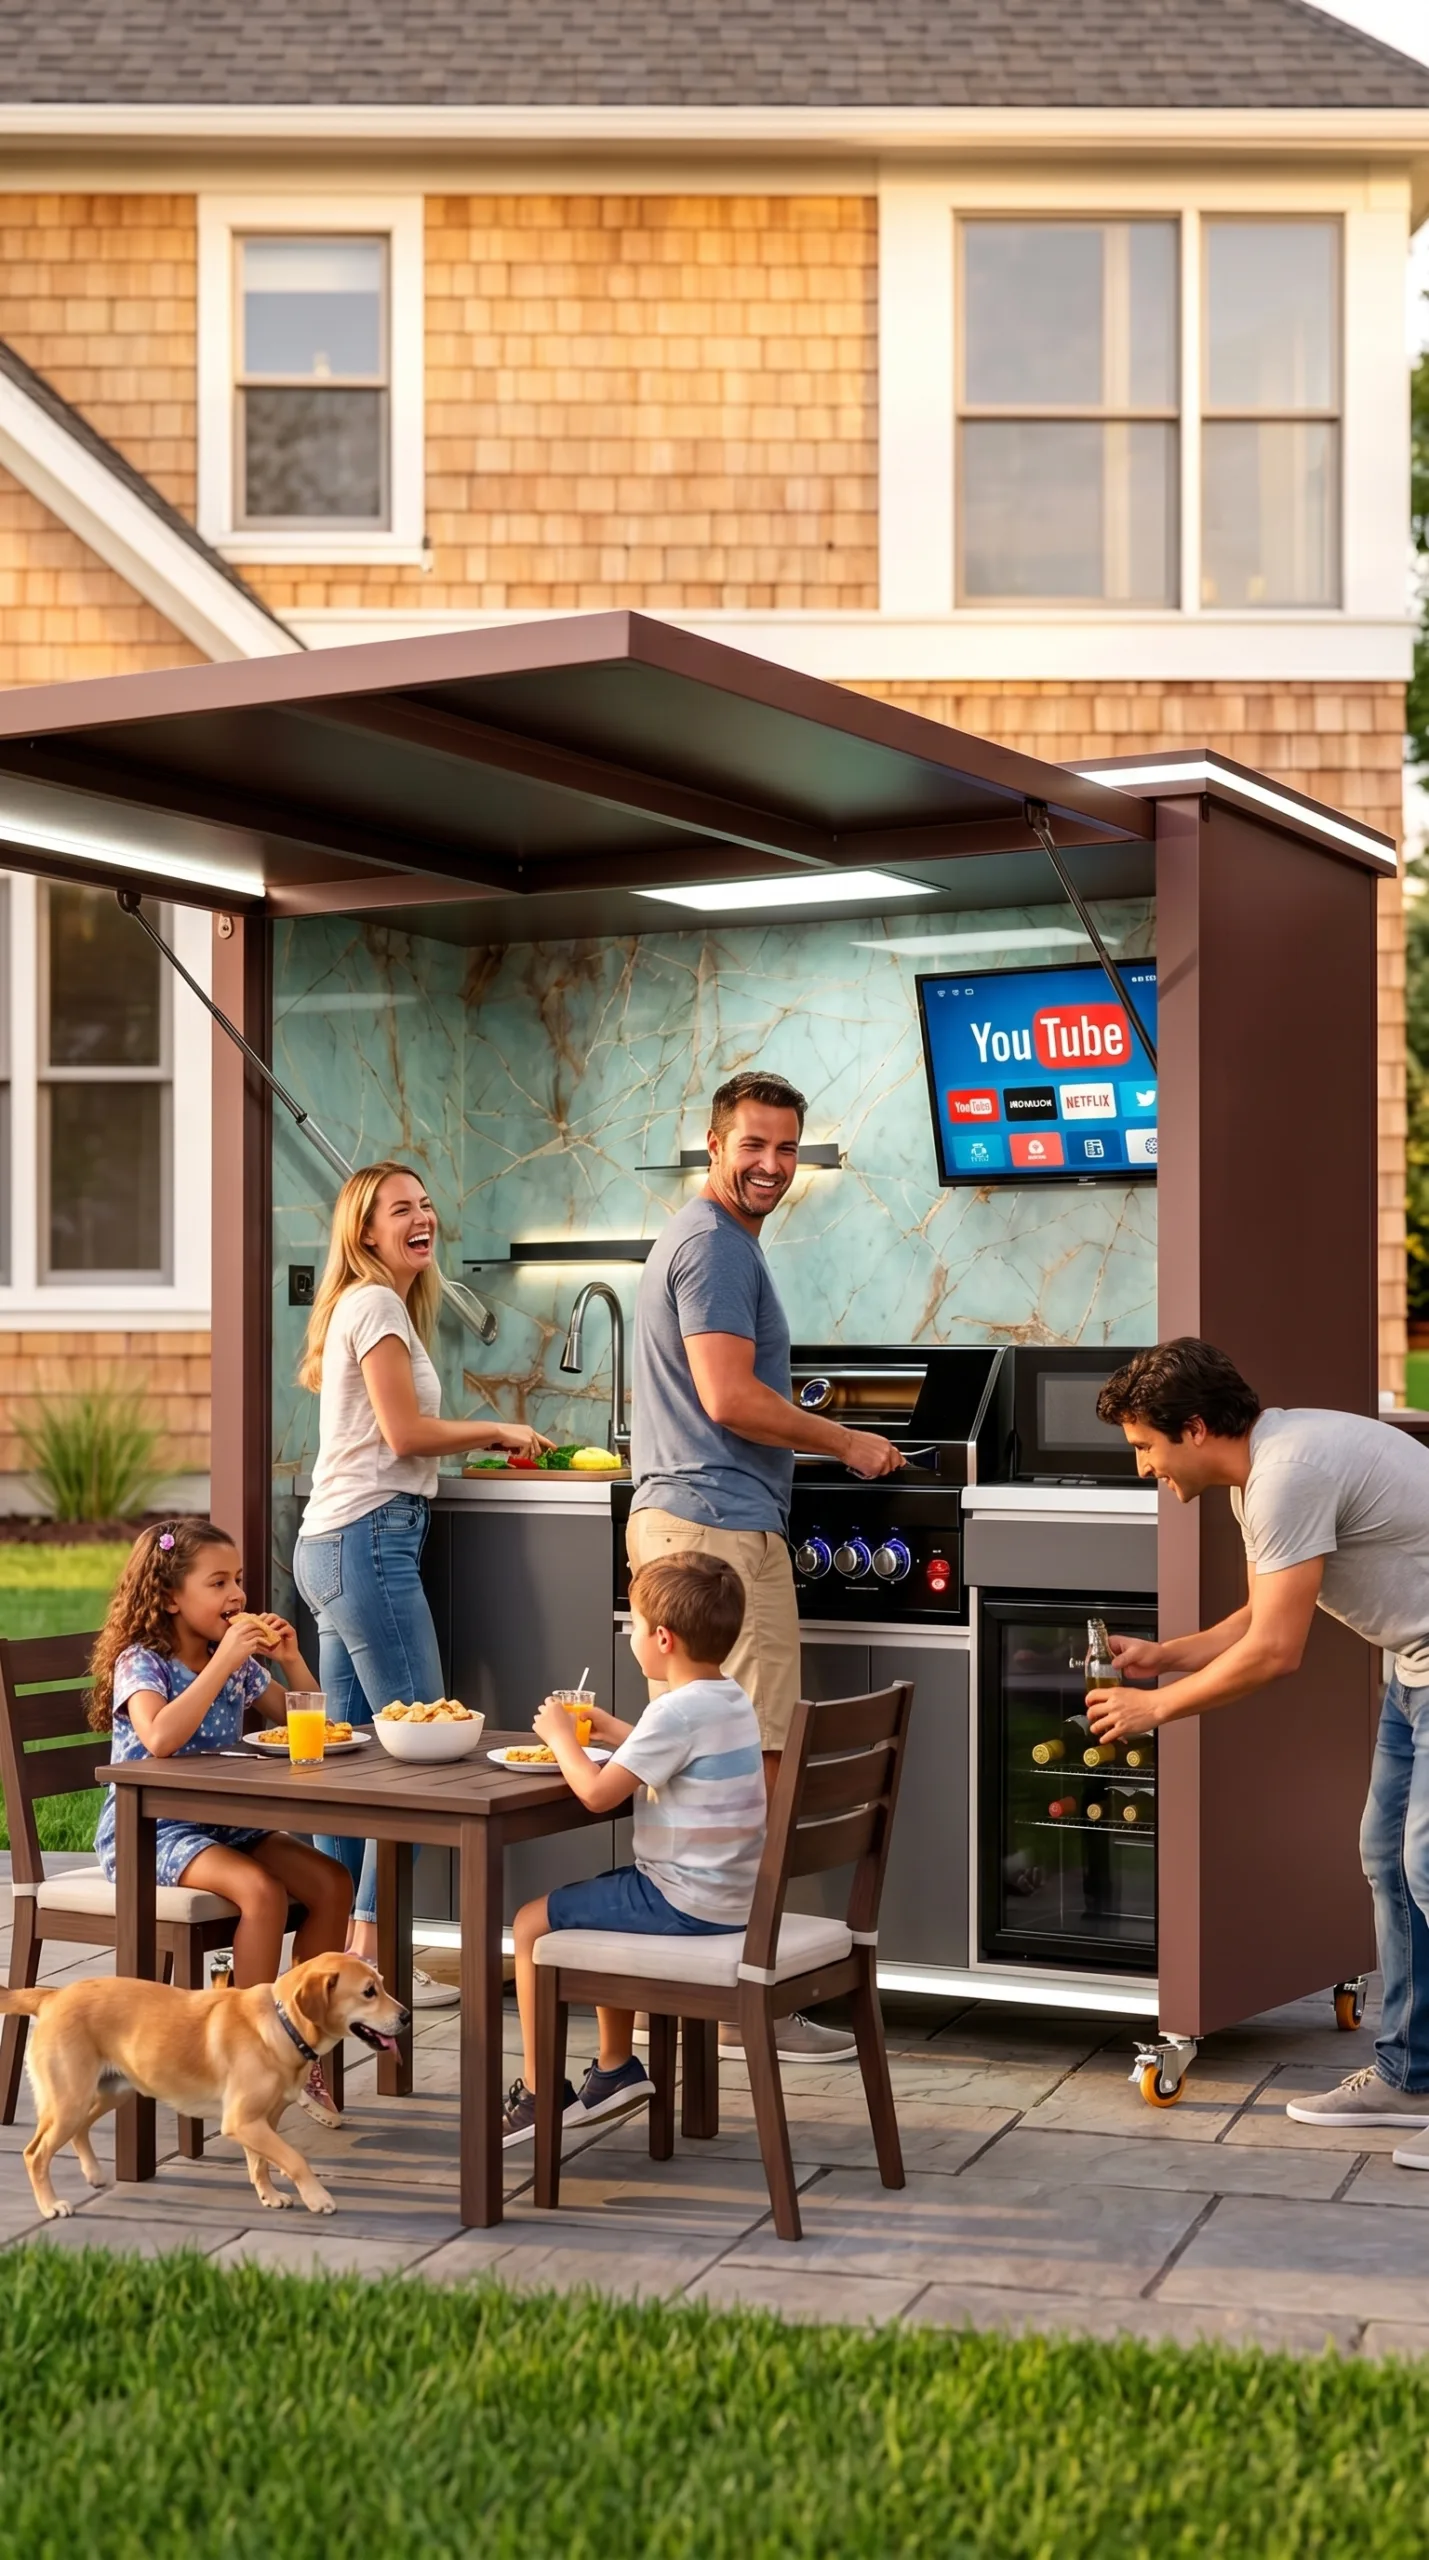
A well-planned outdoor kitchen should move food in one direction: from cold storage to preparation, then cooking, serving, and cleanup. Keep raw-food handling away from finished dishes, place frequently used tools within easy reach, and give guests a clear route that does not cross the grill or prep zone. The exact layout can be linear, L-shaped, U-shaped, or movable; what matters is that the sequence supports safe, comfortable work.
Why Workflow Matters More Than Kitchen Shape
Homeowners often begin with the shape of the kitchen, but the better starting point is the sequence of activities. Think through a real meal: groceries arrive, cold items go into refrigeration, vegetables are washed, ingredients are prepared, food moves to the grill, cooked dishes go to a clean serving surface, and used items return for cleanup.
If those steps repeatedly cross one another, the cook wastes time and guests may walk through a hot or messy work area. A good workflow reduces unnecessary movement without squeezing every component together. It also helps separate raw ingredients from ready-to-eat food.
Build the Plan Around Five Functional Zones
1. Landing and Cold-Storage Zone
Provide a convenient place to set down groceries, trays, or a cooler. If the kitchen includes refrigeration, place usable counter space nearby so ingredients do not have to be balanced on an appliance door or carried across the entire layout.
Use only equipment documented for its actual outdoor location and climate conditions. Confirm ventilation, clearances, electrical requirements, and ambient operating limits from the specific appliance documentation. Plan a built-in opening around verified dimensions rather than assumptions.
2. Preparation Zone
The preparation zone needs an uncluttered surface, useful lighting, access to utensils, and a practical route to handwashing or a nearby approved sink arrangement. Locate trash where scraps can be cleared without crossing the serving area.
If raw meat or seafood will be prepared outside, create deliberate separation from salads, garnishes, buns, and cooked food. Separate cutting boards, plates, and utensils are easier to manage when the layout gives them defined storage and counter positions.
3. Cooking Zone
The grill or other cooking appliance is the hottest and most active area. It needs landing space for raw items on one side and a clean place for finished food on the other. Avoid making the cook turn through guest seating while carrying hot pans.
Cooking equipment must follow manufacturer-specified clearances, ventilation instructions, fuel requirements, and overhead restrictions. Gas, electricity, fire safety, and permits must be evaluated using model-specific documents and qualified local professionals or authorities. Never infer safe clearances from a photograph or general guide.
4. Serving and Guest Zone
A clean serving surface should be reachable from the cooking area without occupying the raw-prep counter. For buffet entertaining, position plates and utensils at the beginning of the guest route and finished food after them. Guests should be able to serve themselves without standing behind the cook.
Beverages deserve their own mini-zone when space allows. Glassware, ice, bottles, and a beverage refrigerator create frequent traffic. Keeping that traffic away from the grill improves comfort and helps maintain a clean work area.
5. Cleanup Zone
Plan where dirty dishes, tools, and trays will collect. A sink can support cleanup, but its usefulness depends on verified water supply, drainage, winterization, backflow protection, and local plumbing requirements. Without a sink, create an easy route indoors and use a dedicated tub for transporting used items.
Keep cleaning products separate from food and serving supplies. Exterior cabinets face temperature changes, humidity, dust, insects, and wind-driven moisture, so storage decisions should reflect cabinet documentation and local conditions.
Apply Clean, Separate, Cook, and Chill
The USDA Food Safety and Inspection Service summarizes home food safety in four actions: clean, separate, cook, and chill. The agency recommends washing hands and surfaces, preventing cross-contamination, using a food thermometer, and refrigerating food promptly. Review the current USDA food safety basics before hosting.
- Clean: make hand cleaning, washable surfaces, soap, and clean utensils easy to access.
- Separate: assign different boards, plates, utensils, and counter positions to raw and ready-to-eat food.
- Cook: store a clean food thermometer where the cook can reach it easily.
- Chill: minimize the distance between appropriate cold storage and preparation or serving.
A beautiful kitchen cannot compensate for unsafe food handling. Follow current USDA or FDA guidance for the food being prepared, and do not use appliance appearance as evidence of temperature performance.
Compare Common Layouts by Workflow
| Layout | Workflow advantage | Watch for |
|---|---|---|
| Single line | Simple sequence and efficient use of a compact patio edge | Limited separation between raw prep and clean serving |
| L-shaped | A corner can separate cooking from serving or beverages | Door, drawer, and appliance conflicts near the inside corner |
| U-shaped | Generous work surfaces and distinct zones | Guest entry into the work area and insufficient aisle clearance |
| Island plus back line | Guest seating can face away from the main cooking run | Utilities and circulation crossing between runs |
| Movable kitchen | Flexible placement for different events | Level support, locked casters, safe relocation, and utility limits |
Prevent Door and Traffic Conflicts
Draw every appliance door, cabinet door, drawer, and lid in the open position. A refrigerator door can block an aisle; an open grill lid affects overhead space; opposing drawers can collide. Check the kitchen with one person cooking and another retrieving a drink or carrying a tray.
Map routes from the house, yard, pool, dining table, and trash area. Children and pets naturally take the shortest path, so do not rely on everyone remembering to avoid the hot zone. Use furniture placement and clear circulation to guide traffic around it.
Plan Storage Around Frequency and Risk
Store grill tools close to cooking, prep tools near the work surface, and clean serving pieces near serving. Heavy items belong where they can be lifted without reaching overhead or twisting through a narrow aisle. Keep a designated place for heat-resistant gloves and a food thermometer.
Not everything should remain outdoors. Paper goods, linens, seasonings, electronics, and cleaning products may be affected by moisture, heat, cold, pests, or wind. Follow product labels and cabinet documentation, and bring sensitive items indoors when conditions are unsuitable.
Outdoor Kitchen Workflow Checklist
- Write down the steps for a typical family meal and a larger gathering.
- Mark landing, cold storage, raw prep, cooking, clean serving, beverage, and cleanup zones.
- Keep guest routes outside the main cooking and raw-prep area.
- Provide separate positions for raw and finished food.
- Check every lid, door, and drawer fully open.
- Confirm task lighting for preparation, cooking controls, and cleanup.
- Locate trash and used-dish collection without blocking the cook.
- Verify each appliance’s ventilation, clearance, utility, and location requirements.
- Have qualified local professionals review gas, electrical, plumbing, drainage, fire, structure, and permits.
- Walk through the layout with trays in hand before installation.
Test the Workflow Before You Build
Use painter’s tape or cardboard to mark the footprint on the patio. Add boxes to represent counters and appliances, including their open doors. Ask one person to act as the cook while others approach the beverage area, dining table, and house. This low-cost test often reveals conflicts that are not obvious on a plan.
Once the workflow works, compare it with exact product drawings and site conditions. Explore Yuquanqiu outdoor kitchens for inspiration, then obtain model-specific dimensions and installation information before coordinating the foundation and utilities.
Frequently Asked Questions
What is the best order for outdoor kitchen zones?
A practical sequence is cold storage, preparation, cooking, clean serving, and cleanup. The layout can bend around a corner, but raw-food handling and guest traffic should not repeatedly cross the clean serving path.
Should the sink be next to the grill?
It should be convenient to preparation and cleanup without crowding the grill landing space. The final location depends on appliance clearances, plumbing, drainage, counter needs, and winterization. Use qualified local professionals.
Where should an outdoor refrigerator go?
Place it near the landing or prep zone and away from avoidable heat, while meeting the manufacturer’s ventilation, electrical, weather-exposure, and ambient-temperature instructions. Do not place it solely for visual symmetry.
How do I keep guests away from the grill?
Create a separate beverage and serving route, orient seating toward the guest side, and keep the grill inside a clearly defined work zone. Test the walking paths before installation.
How much counter space does an outdoor kitchen need?
There is no universal amount. List the foods and equipment used most often, reserve landing space at appliances, and mock up the layout. Verified product dimensions and clearances control the final plan.
Can one counter handle both raw prep and serving?
It can only be used safely with disciplined separation, cleaning, and sanitizing between tasks. Distinct counter positions, boards, plates, and utensils make cross-contamination easier to prevent. Follow current USDA or FDA guidance.