Pro Program Live Chat +8619050185756

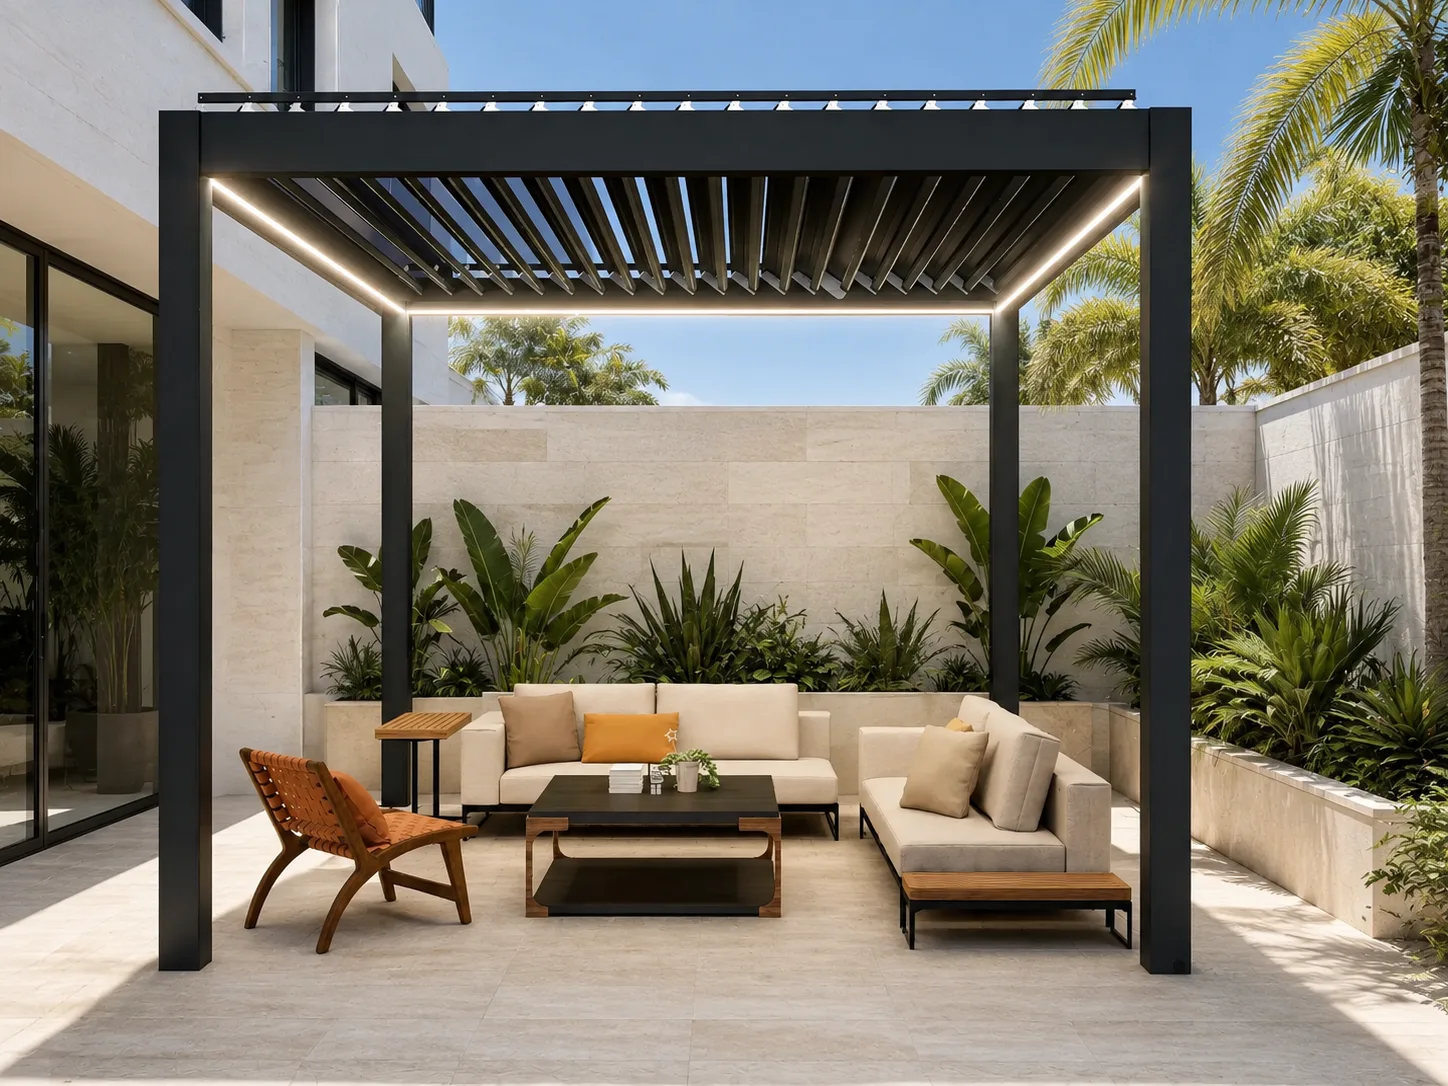
Pergola louvers should run in the direction that best fits the exact roof system, patio shape, sun path, house relationship, drainage plan, and desired views—not according to one universal compass rule. Start with the manufacturer’s available configurations, then compare how each orientation affects midday and low-angle sun, sightlines, beam locations, water discharge, wiring, and furniture. Final orientation must follow model-specific documentation and a site plan reviewed by qualified local professionals.
First define what “louver direction” means
Louver direction usually describes the line of the individual blades between supporting beams. It is different from the direction in which the blades tilt or the side where a motor is located. A homeowner may say the louvers run east to west while an installer describes the same roof by its span direction.
Use a marked plan with north indicated. Draw the house, patio, posts, beams, and blades. Label the blade line, pivot direction, drainage outlets, and control or motor location using the exact product drawings. Clear language prevents the roof from being ordered or installed in an unintended orientation.
Confirm the available product configurations
Not every pergola can simply be rotated while keeping the same dimensions and components. Blade spans, perimeter beams, motors, drainage channels, wiring, and structural connections may be configured for a particular layout. The manufacturer may limit how certain sizes or modules can be arranged.
Obtain current drawings for the exact model, footprint, and roof sections before deciding. Never assume that an image proves a specific drainage direction, wind or snow rating, attachment method, or custom option. Verified documentation for the selected configuration controls.
Study the sun across the day and year
The best orientation for shade depends on latitude, season, surrounding buildings, trees, and the patio’s exposure. Midday sun is relatively high, while morning and afternoon sun enters at a lower angle from the sides. Adjustable louvers can change overhead light, but they cannot eliminate every low-angle ray.
Observe the proposed site in the morning, midday, and late afternoon. If possible, compare conditions during more than one season or use a site-specific solar study. Mark the dining table, sofa, outdoor kitchen, and doors so you can see which areas need the most reliable shade at the times they are used.
Do not rely on a compass rule alone
General advice about north-south or east-west blades can be misleading because the pergola may be shaded by the house, face a reflective wall, or sit below tall trees. The blade angle and roof geometry also matter. Evaluate the real site and the actual operating system rather than copying an orientation from another home.
Coordinate the pergola with the house
Blade direction should support the architecture rather than fight it. Lines that relate to roof edges, windows, doors, paving joints, and major views can make the pergola feel integrated. Yet visual alignment is only one factor; it must not override structural, drainage, or operating requirements.
For an attached pergola, building connections, flashing, eaves, gutters, soffits, windows, and roof runoff need careful coordination. A freestanding design offers more placement flexibility but still requires foundations, setbacks, and utility planning. Use qualified local professionals for structural and waterproofing decisions.
Protect important views
Open louvers create strong parallel lines. Depending on the viewing angle, those lines may frame a garden or visually interrupt a distant view. Stand at important indoor windows and primary outdoor seats, then imagine the roof fully open, partially open, and closed.
Beam depth and roof height can affect the view more than blade direction. Review elevations as well as the top-down plan. Three-dimensional visuals can help communicate the intent, but final decisions must be based on verified product dimensions.
Understand water management
A louvered roof may collect and route rainwater through channels, perimeter beams, gutters, or posts, depending on its design. Blade orientation can be related to that system, but the relationship varies by product. Do not decide drainage from appearance alone.
Identify every outlet and confirm where water goes after it leaves the pergola. Discharge should not soak foundations, stain walls, cross a doorway, erode landscaping, or create a slippery walking surface. Site grading and underground connections may require professional design and local approval.
Plan electrical components and service access
Motorized louvers, lighting, sensors, controls, and approved accessories can affect orientation. Wiring routes and service panels should remain accessible without interfering with moving blades or drainage. The controller location should make sense for daily use while staying within documented installation conditions.
Permanent electrical work should be designed and installed by a qualified electrician. Exact equipment instructions and local authorities determine circuit protection, grounding, disconnects, weather protection, permits, and inspection. Do not route extension cords through roof channels or use them as permanent wiring.
Match orientation to the patio shape
A long, narrow patio may naturally suggest blades or modules in one direction, but structural span limits and beam locations must be confirmed. A large patio may use multiple roof zones. Separate zones can offer useful light control, but they also introduce additional structure, motors, drainage, and coordination.
Furniture should fit between posts without blocking circulation. Outdoor kitchens, grills, heaters, and fire features require their own documented clearances and ventilation. Do not place heat-producing equipment beneath a pergola without exact appliance and pergola approval plus professional review.
Compare the main decision factors
| Factor | Question to ask | Information needed |
|---|---|---|
| Sun | When and where is shade most important? | Site observations or solar study |
| Architecture | Which roof line or facade feature should the pergola relate to? | Plan and elevation drawings |
| Views | How do open and closed blades appear from key seats and windows? | Verified heights and 3D sightlines |
| Drainage | Where does collected water leave the roof? | Exact model drainage drawings |
| Structure | Which spans and module layouts are documented? | Model-specific engineering information |
| Utilities | Where are motors, controls, lights, and service points? | Electrical and installation documentation |
Use a two-option planning exercise
Ask the designer to draw the pergola in both feasible orientations using the exact model information. Compare the same items on each plan: post locations, blade lines, beam positions, shade at key times, view from the house, drainage outlets, wiring, furniture, and walking routes.
This side-by-side exercise makes tradeoffs visible. One orientation may improve the architectural lines while another simplifies drainage. The best solution is the one that satisfies documented product requirements and the priorities of the actual site.
A louver-direction checklist
- Select the exact pergola model, footprint, height, and number of roof zones.
- Obtain drawings showing blades, beams, motors, wiring, and drainage.
- Mark north and observe sun in the morning, midday, and afternoon.
- Show furniture, doors, outdoor cooking equipment, and circulation.
- Compare views from important indoor windows and outdoor seats.
- Map every roof water outlet and the final discharge route.
- Confirm documented spans, connections, and available configurations.
- Preserve access for cleaning, drainage, motors, controls, and service.
- Use qualified professionals for foundations, anchoring, structure, and electricity.
- Verify setbacks, permits, wind and snow considerations, and inspections locally.
Choose the product and site plan together
The ideal direction cannot be chosen in isolation from the pergola’s engineering and the backyard’s conditions. Review Meta Lifestyle’s aluminum shade structures for design ideas, then request current model-specific drawings for the configuration under consideration.
A product image can show the visual character of open louvers, but it does not establish blade-span choices, roof-zone options, drainage routes, structural ratings, or local approval. Base the final decision on verified documentation and a measured site plan.
Frequently Asked Questions
Should pergola louvers run north to south or east to west?
There is no universal answer. The best direction depends on the sun path, house, patio shape, product configuration, views, and drainage. Compare feasible orientations for the exact site.
Does louver direction determine where rainwater drains?
It may be related, but roof drainage differs by model. Use the exact pergola drawings to identify channels and outlets, then coordinate the site discharge with qualified professionals.
Can the pergola be rotated after it is ordered?
Do not assume so. Rotation can change post relationships, spans, drainage, motors, utilities, and attachment details. Confirm the intended orientation before ordering and follow the manufacturer’s documented configuration.
Which direction gives the most shade?
Shade changes with time, season, louver angle, roof height, and surrounding conditions. A site-specific sun study or direct observation is more reliable than a general compass recommendation.
Can separate louver zones run in different directions?
Only if the exact product system documents that configuration. Multiple zones can change beams, motors, wiring, drainage, and structure, so request current drawings before planning.
Who should approve the final orientation?
The supplier should confirm the product configuration, while qualified local professionals and authorities should address structure, foundations, anchoring, drainage, electrical work, setbacks, and permits.
This guide provides general planning information. Exact model documentation and qualified local professionals or authorities control configuration, structure, foundations, anchoring, wind and snow considerations, drainage, electrical work, setbacks, permits, and installation.