Pro Program Live Chat +8619050185756

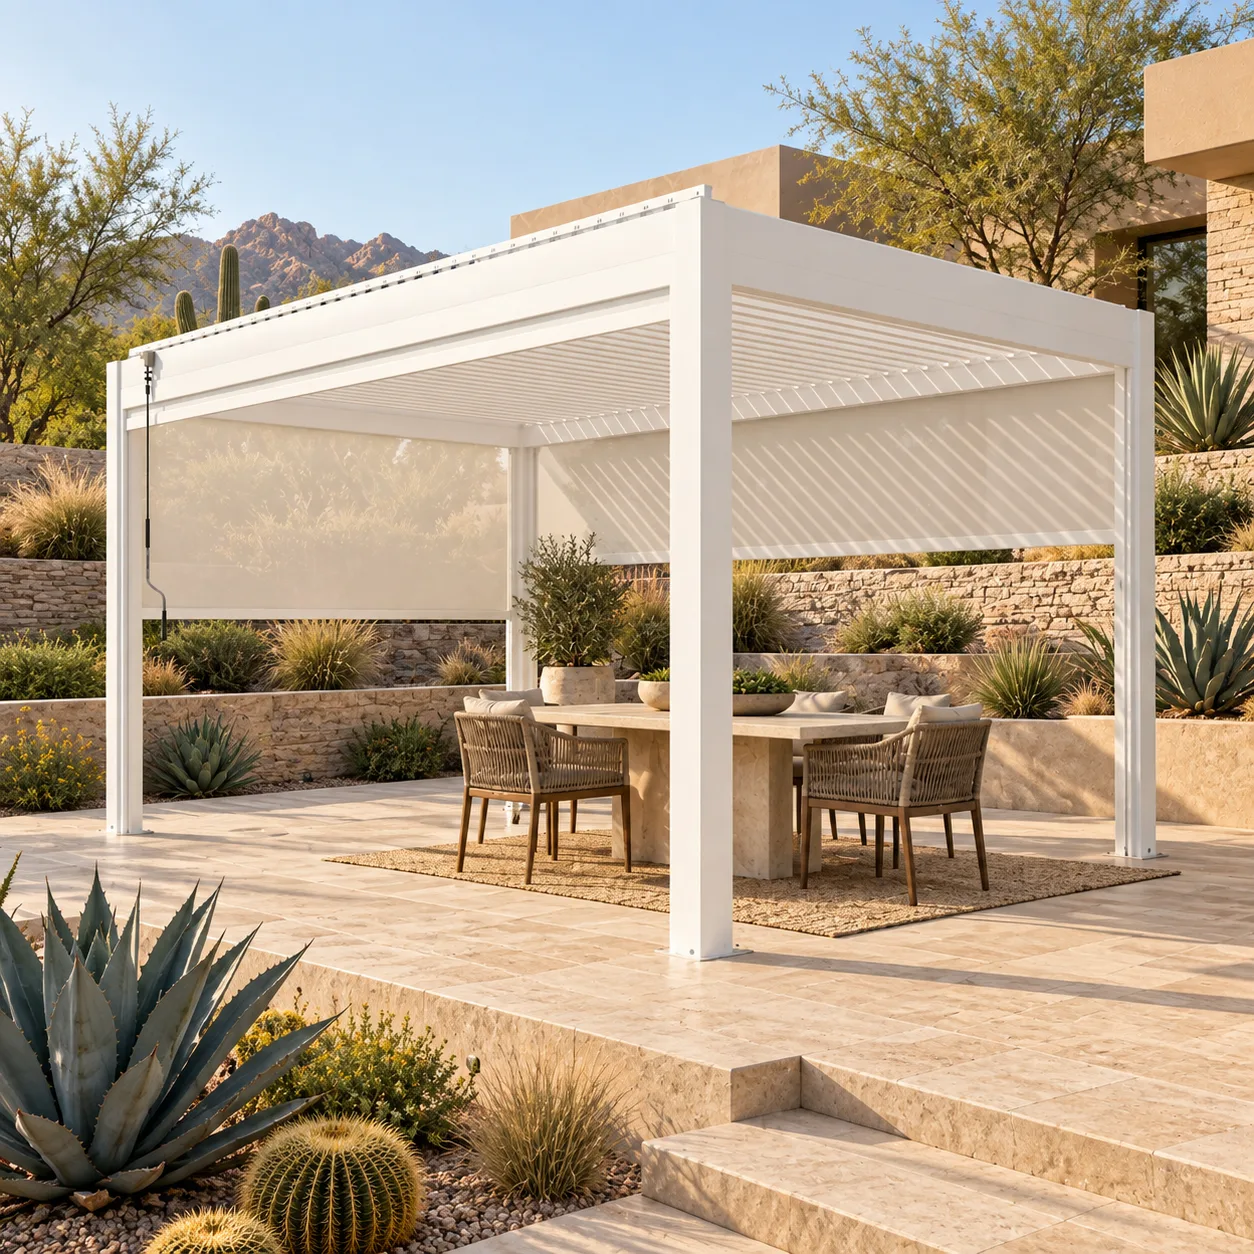
The short answer: A motorized pergola can work in a sloped backyard, but the design should begin with a verified level installation plane, a drainage strategy, and a structural review—not with the pergola size alone. The safest approach is to document the grade, retaining walls, utilities, access route, and finished patio elevations, then have qualified local professionals determine the foundation, anchoring, and permit requirements for the exact model and site.
Why a Sloped Yard Changes the Pergola Plan
On a flat patio, homeowners can often visualize the footprint quickly. On a hillside or stepped yard, the same rectangle interacts with changing elevations, runoff, stairs, walls, and sightlines. A few inches of grade change can affect post base elevations, furniture stability, headroom, door clearances, and the route water takes after a storm.
The pergola itself should not be used to correct an unknown site condition. Its posts, beams, louvers, screens, gutters, and motorized parts must remain in the configuration documented for the selected model. The supporting construction must provide the appropriate level and stable conditions. Whether that means a professionally designed slab, engineered footings, a raised platform, or another approved solution depends on the property and local requirements.
Begin With an Elevation Survey, Not a Tape Measure Alone
Record both horizontal and vertical dimensions
Measure the available width and depth, but also record the elevation at each proposed post location. Note the high and low sides of the yard, the top and bottom of nearby retaining walls, stair landings, patio edges, and thresholds at the house. A simple sketch with arrows showing the direction of fall is more useful than a single patio dimension.
For a preliminary quote, photographs from all four corners help explain the site. For construction, however, do not rely on photos or a phone leveling app. A contractor, surveyor, or other qualified professional should verify elevations and property constraints with appropriate tools.
Mark what cannot move
Identify utilities, drains, irrigation, septic components, easements, tree roots, pool equipment, and underground lines. Also mark doors, windows, roof overhangs, vents, gates, and required paths. The pergola footprint should not block service access or force people into a narrow route near a drop, stair, or pool edge.
Choose the Outdoor Room Before Choosing the Pergola Size
Define what will happen under the structure. A dining table needs chair pullback space and a comfortable route around occupied seats. A lounge arrangement needs circulation between the house, steps, and yard. A grill or fire feature introduces separate clearance, ventilation, and professional-review requirements. On a sloped property, every activity zone should fit entirely on a stable finished surface rather than straddling a grade change.
Use painter’s tape, stakes, or a temporary outline to test the footprint. Place sample chairs at the perimeter and walk the intended routes. Check whether a person carrying a tray can move from the house to the dining area without stepping backward near stairs. Consider how a lowered screen might interact with furniture and landscaping. The complete product and its moving components must remain unobstructed.
Compare Three Common Site Strategies
| Approach | Potential advantage | Questions to resolve |
|---|---|---|
| Level patio cut into the slope | Can create a direct, grounded outdoor room | Excavation, retaining, drainage, soil, and access |
| Raised platform or deck | May align with a higher house threshold | Structural capacity, lateral loads, waterproofing, stairs, and guard requirements |
| Terraced landscape with a dedicated pergola pad | Separates dining or lounge use from other yard levels | Safe transitions, retaining-wall coordination, runoff, and construction sequencing |
No option is automatically best. Cost, feasibility, and approval depend on site-specific engineering, soil, access, existing construction, and local rules. Ask for the supporting work and pergola installation to be coordinated as one project rather than designed in isolation.
Plan Drainage Before the Finished Patio
A slope naturally directs water, and construction can redirect it. The finished design should keep runoff from concentrating at post bases, flowing toward the house, crossing stairs, or ponding beneath furniture. It should also account for water managed by the pergola roof system according to the exact product documentation.
Do not assume that a retaining wall, gravel strip, or channel drain will solve every condition. A drainage professional or qualified contractor should evaluate where water originates, how much surface contributes to the area, where discharge is permitted, and how the plan relates to neighboring property. Model-specific gutter and outlet information should be coordinated with the site drainage design.
Coordinate Retaining Walls and Foundations
A retaining wall is not automatically a pergola foundation. Its location, construction, reinforcement, drainage, condition, and design loads may be unknown. Placing posts on, beside, or behind a wall can affect both structures. Have the responsible professionals determine whether independent foundations, setbacks, reinforcement, or another solution is required.
The same caution applies to pavers laid over a sloped base. A finished paver surface may look level while the construction below is not intended to support or anchor a structure. Never infer structural capacity from appearance. The pergola manufacturer’s model-specific anchoring information and the local professional’s site design must control.
Access and Installation Logistics Matter
Hillside homes often have narrow side yards, stairs, limited staging space, or no direct equipment route. Before ordering, document gate widths, overhead clearances, turns, steps, soft ground, parking limits, and the distance from unloading to the installation area. Confirm where components can be stored safely without blocking neighbors or damaging landscaping.
Construction sequence is especially important. Earthwork, retaining, underground utilities, drainage, and the final supporting surface typically need coordination before pergola installation. Protect verified anchor zones from later utility cuts. Keep drawings and photographs of concealed work for the installation team and future service.
Sloped-Backyard Pergola Planning Checklist
- Photograph the site from the house, yard, high side, and low side.
- Record the elevation at every proposed post location.
- Mark retaining walls, steps, edges, drains, utilities, and easements.
- Define dining, lounge, circulation, and service zones.
- Test chair pullback and walking routes at full scale.
- Confirm that screens and louvers can operate without obstruction.
- Coordinate roof-water discharge with the full property drainage plan.
- Have foundations and anchoring designed for the exact site and model.
- Verify delivery, staging, and installer access before ordering.
- Confirm permits and inspections with the local authority.
What to Send When Requesting a Quote
A useful quote request includes the property ZIP code, desired use, approximate footprint, photos from multiple directions, a dimensioned sketch, high- and low-side elevations, retaining-wall locations, surface type, utility notes, and access constraints. Mention whether the patio is existing or proposed and whether screens, lighting, or other model-specific options are being considered.
Review the META LIFESTYLE shade structures to identify a suitable design direction, but do not assume an online image establishes structural suitability for your property. Request the documents for the exact configuration under consideration.
Frequently Asked Questions
Can pergola posts be different lengths on a slope?
Do not assume field-modified post lengths are permitted. The exact product documentation and approved site design must determine the installation configuration. Often the supporting surface or foundation design establishes the required installation plane.
Can I anchor a motorized pergola directly to a retaining wall?
Only if qualified professionals verify that the wall and connection are designed for the applicable loads and the exact model. An existing landscaping wall should never be treated as structurally suitable based on appearance alone.
Does the patio need to be perfectly level?
The product installation conditions come from model-specific documentation, while the finished surface may need controlled drainage. A qualified installer and site professional should coordinate tolerances, elevations, and drainage rather than improvising during assembly.
Should the pergola go on the high or low side of the yard?
Either may work. Compare house access, views, privacy, wind, drainage, stairs, retaining requirements, and construction access. The best location is the one that resolves the complete site plan safely.
Do I need a permit for a pergola on a hillside?
Requirements vary by jurisdiction and project scope. Contact the local authority and have qualified professionals review structure, anchoring, drainage, retaining walls, setbacks, electrical work, and any other applicable elements.
What if the yard has no equipment access?
Tell the supplier and contractor before ordering. They can assess component routes, manual handling, lifting needs, staging, and whether site work or product delivery is feasible without unsafe assumptions.
Request a Site-Specific Pergola Quote
For a sloped property, the most useful first step is a clear site package. Request a quote from META LIFESTYLE with your dimensions, elevation notes, photos, location, intended use, and access details. Both numbers below are official META LIFESTYLE WhatsApp contacts: