Pro Program Live Chat +8619050185756

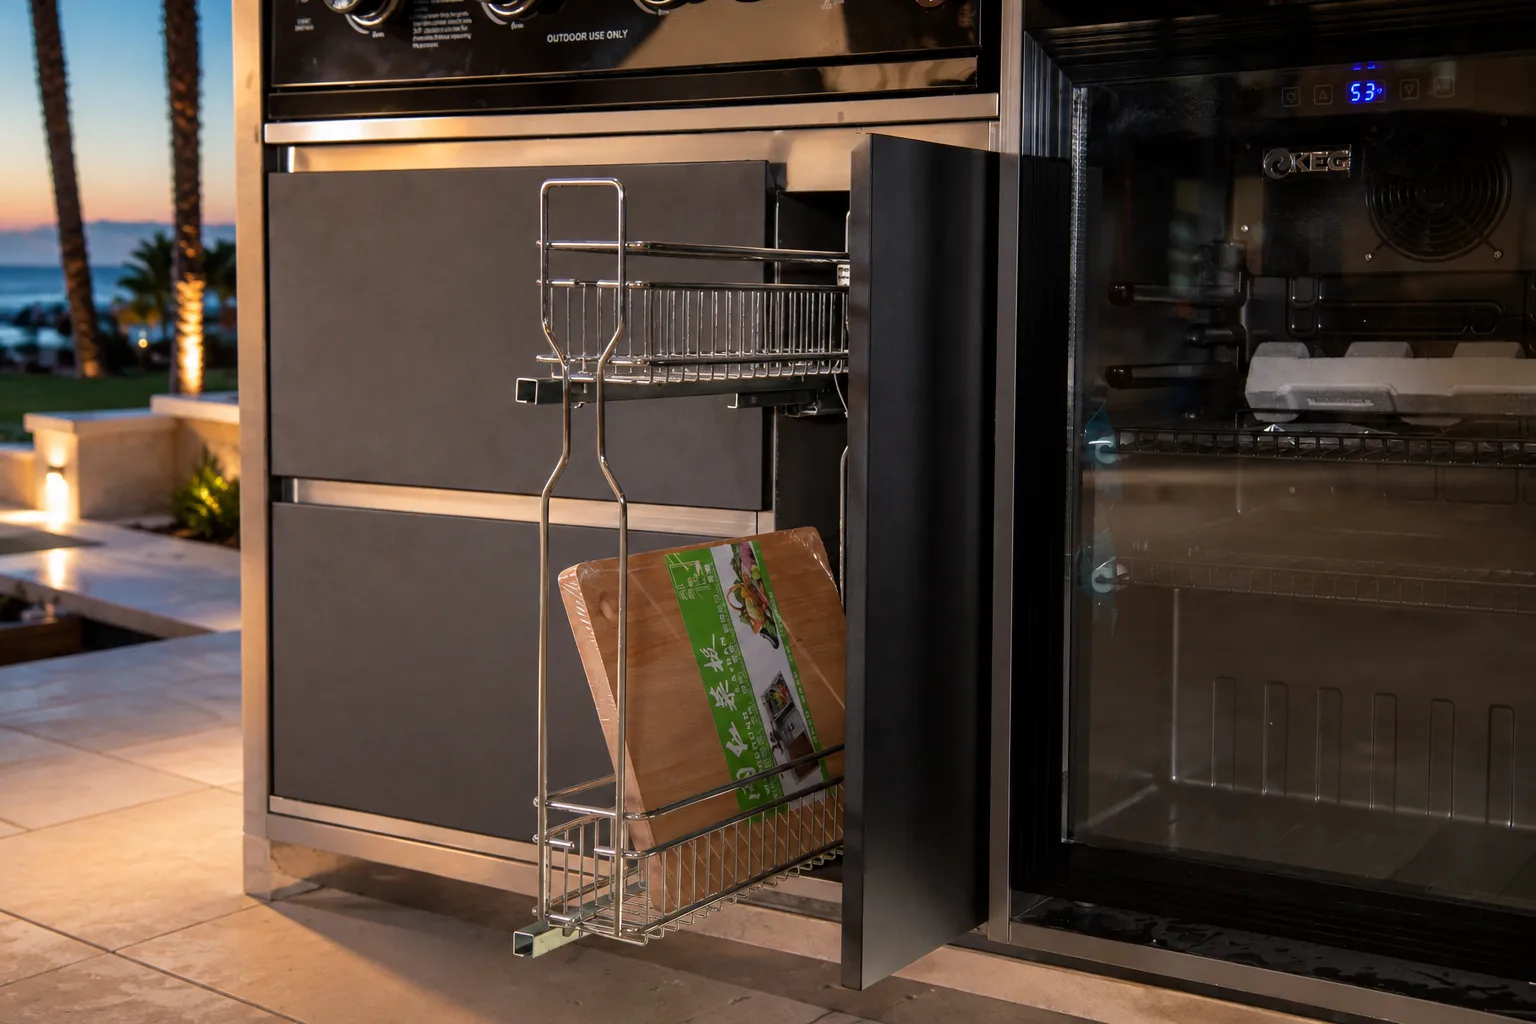
Divide an outdoor kitchen into six practical zones: hot cooking, preparation, cold storage, cleanup, serving, and guest seating. Keep them close enough for efficient movement, but separate guests from heat, smoke, sharp tools, and open appliance doors. The exact layout should follow the equipment you select, the available footprint, and model-specific installation requirements. A good zone plan reduces unnecessary steps whether one person is grilling dinner or several people are entertaining together.
Why Work Zones Matter Outdoors
An outdoor kitchen may combine a grill, refrigerator, sink, beverage station, trash cabinet, dining table, and pool traffic. Zones organize these functions without forcing every project into one geometric formula. Each activity receives enough room, and related items stay near one another.
Raw ingredients should move logically from cold storage to preparation and cooking. Finished food should move from the grill to a clean landing surface and serving area without crossing dirty dishes. Guests should reach drinks or seats without entering the cook’s active path.
Zone 1: Hot Cooking
The hot zone includes the grill and equipment that produces heat, flame, smoke, grease, or steam. It needs safe clearances, ventilation appropriate to the setting, durable landing space, and an unobstructed operating position. Avoid guest seating directly behind the cook or where someone must pass close to a hot lid.
Provide counter space near the cooking appliance so raw trays and finished food have deliberate places. Do not assume generic clearance or enclosure details apply. Follow exact appliance documentation. Qualified local professionals should design and install gas, electrical, ventilation, fire-clearance, and structural details; local authorities determine applicable codes and permits.
Hot-zone questions
- Can the grill lid and cabinet doors open fully?
- Is there a safe place for hot tools and cooked food?
- Can the cook face guests without exposing them to the appliance opening?
- Are overhead construction and nearby surfaces addressed by verified documents?
- Can the appliance be serviced without removing permanent construction?
Zone 2: Preparation
The prep zone is the clean counter used for cutting, seasoning, assembling, and plating. Keep it close to cold storage and the grill but outside busy traffic. A continuous surface is often more useful than several narrow fragments because it can hold a cutting board, ingredients, utensils, and a tray together.
Store knives, tongs, foil, seasonings, and prep tools in nearby drawers or pull-outs. A pull-out basket can make larger accessories visible. Keep cleaning chemicals, trash, and raw-food packaging separate from clean serving items. Outdoor cabinets reduce clutter, but bring perishable food and moisture-sensitive supplies indoors when appropriate.
Zone 3: Cold Storage
The cold zone usually centers on an outdoor-rated refrigerator. It may support chilled ingredients and beverages, but the product must be documented for the intended outdoor installation. An indoor mini refrigerator should not be assumed suitable for heat, humidity, dust, changing temperatures, or an outdoor enclosure.
Place the refrigerator near preparation, with room for the door to open fully and shelves to be removed. Do not block required ventilation with trim or stored items. Provide nearby landing space so users are not forced to hold containers while closing the door.
If guests use the refrigerator for drinks, consider their approach. A cold appliance between the cook and grill creates interruptions. In a larger design, beverage access can face the social side while ingredient storage remains convenient to prep.
Zone 4: Cleanup and Waste
The cleanup zone may include a sink, trash pull-out, recycling, towel storage, and space for used dishes. It should receive dirty items without blocking food preparation. Give clean prep and dirty cleanup separate counter areas when possible, even within one cabinet run.
A sink is useful but not mandatory. Adding one introduces water supply, drainage, sanitation, freeze protection, and permitting considerations. Ice makers and other plumbed appliances add similar complexity. Model-specific documentation and qualified local professionals should control plumbing, electrical, drainage, and winter-care decisions.
Locate trash where the cook can reach it but where odors and pests are less likely to affect guests. The container should be removable without carrying waste through seating. Never store cleaning products beside food or serving supplies.
Zone 5: Serving and Beverages
The serving zone is the handoff between cooking and dining. It may be a clear island end, pass-through surface, or beverage station. It should hold finished platters without taking over prep. Store plates, napkins, and serving tools nearby so guests do not search through the cook’s drawers.
For self-service drinks, place access outside the hot zone and main cooking path. This matters near a pool, where wet traffic should not cross the grill area. Coordinate slip resistance, drainage, supervision, and electrical safety with the whole site.
Zone 6: Guests and Seating
The guest zone should feel connected while remaining outside the work aisle. An island overhang supports conversation, while a dining table suits longer meals. Measure with chairs pulled out. People should walk behind occupied seats without brushing hot surfaces or open doors.
Consider comfort at actual use times. Sun, wind, smoke direction, lighting, and views influence placement. A pergola or roof may improve comfort, but it does not replace verified ventilation, fire-clearance, drainage, or structural requirements. Low sun and wind-driven rain can still reach beneath a cover.
Connect the Zones in a Logical Sequence
A practical sequence is cold storage to preparation to cooking to serving. Cleanup should receive used tools without forcing dirty items across clean prep. Guest access should touch the serving and beverage areas while remaining outside the cooking sequence.
In a straight kitchen, arrange functions logically and avoid tall doors that interrupt counter space. An L-shaped layout can place cooking on one leg and serving on the other. An island can separate cook-facing functions from guest-facing functions. The best shape depends on the site.
Compact versus larger layouts
- Compact: combine compatible zones. Prep can become serving space after cooking, and one refrigerator can support ingredients and drinks if traffic is controlled.
- Larger: separate simultaneous activities. Dedicated beverage, cleanup, and serving areas help multiple users avoid collisions.
Explore Meta Lifestyle outdoor kitchen configurations to see how refrigeration, drawers, pull-out storage, preparation surfaces, and cooking equipment can form a coordinated system.
Test the Plan at Full Size
Before utilities and cabinets are fixed, mark the footprint with tape or chalk. Use boxes or tables to represent counters and appliances. Open imaginary doors, carry a tray from the house, stand at the grill, and ask another person to get a drink. This rehearsal reveals conflicts often missed on a small drawing.
Watch door swings, drawer extensions, corners, steps, posts, and narrow aisles. Check the indoor view and the route used to bring in supplies. The layout must work during preparation, service, and cleanup, not only when everything is closed.
Work-Zone Planning Checklist
- List all appliances and activities.
- Keep hot equipment away from guest traffic.
- Provide continuous prep space near cold storage and cooking.
- Allow full appliance, drawer, and pull-out movement.
- Place beverage access on the social side when practical.
- Separate dirty cleanup from clean preparation.
- Provide landing counter beside major appliances.
- Map seating and walking paths at full scale.
- Coordinate sun, wind, drainage, lighting, and weather exposure.
- Use exact product documents and qualified professionals for utilities, structure, clearances, and permits.
Frequently Asked Questions
What is the most important outdoor kitchen zone?
The prep zone often has the greatest effect on daily usability because it connects cold storage, cooking, and serving. However, every design must first address safe appliance installation and circulation. Priorities depend on cooking style and equipment.
Should the refrigerator be next to the grill?
It should be convenient to preparation but need not sit immediately beside the grill. Preserve landing counter and prevent doors or beverage traffic from blocking the cook. Follow the refrigerator’s ventilation and enclosure instructions.
Can prep and serving share one counter?
Yes, especially in a compact kitchen when the activities occur at different times. Clear and clean the surface before serving finished food. During larger gatherings, separate surfaces better support simultaneous work.
Where should trash go?
Place it within reach of prep and cleanup but away from clean serving storage and seating. Ensure the pull-out does not block an aisle and the container can be removed and cleaned easily.
How wide should outdoor kitchen aisles be?
There is no single dimension for every project. Appliance doors, multiple cooks, seating, accessibility goals, and local requirements affect the answer. Test the full-size plan and have the final design reviewed for selected products and site conditions.
Do zones change under a pergola?
The workflow remains, but overhead construction adds ventilation, heat, clearance, drainage, electrical, and structural questions. Model-specific documentation and qualified local professionals or authorities must control those decisions.
Plan Movement Before Features
A successful outdoor kitchen is not defined by appliance count. It works because ingredients, tools, food, dishes, and people move without conflict. Establish the hot, prep, cold, cleanup, serving, and guest zones first. Then select equipment and storage that support them. With full-size testing and professional coordination, the kitchen can feel natural during both a quiet weeknight meal and an active gathering.