Pro Program Live Chat +8619050185756

The best outdoor kitchen for year-round use is a weather-resistant, well-ventilated cooking system with a practical work triangle, protected utilities, easy-to-clean surfaces, and an enclosure suited to the local climate. Homeowners should choose the structure and appliances together rather than treating the grill, cabinets, roof, and utility connections as separate purchases.
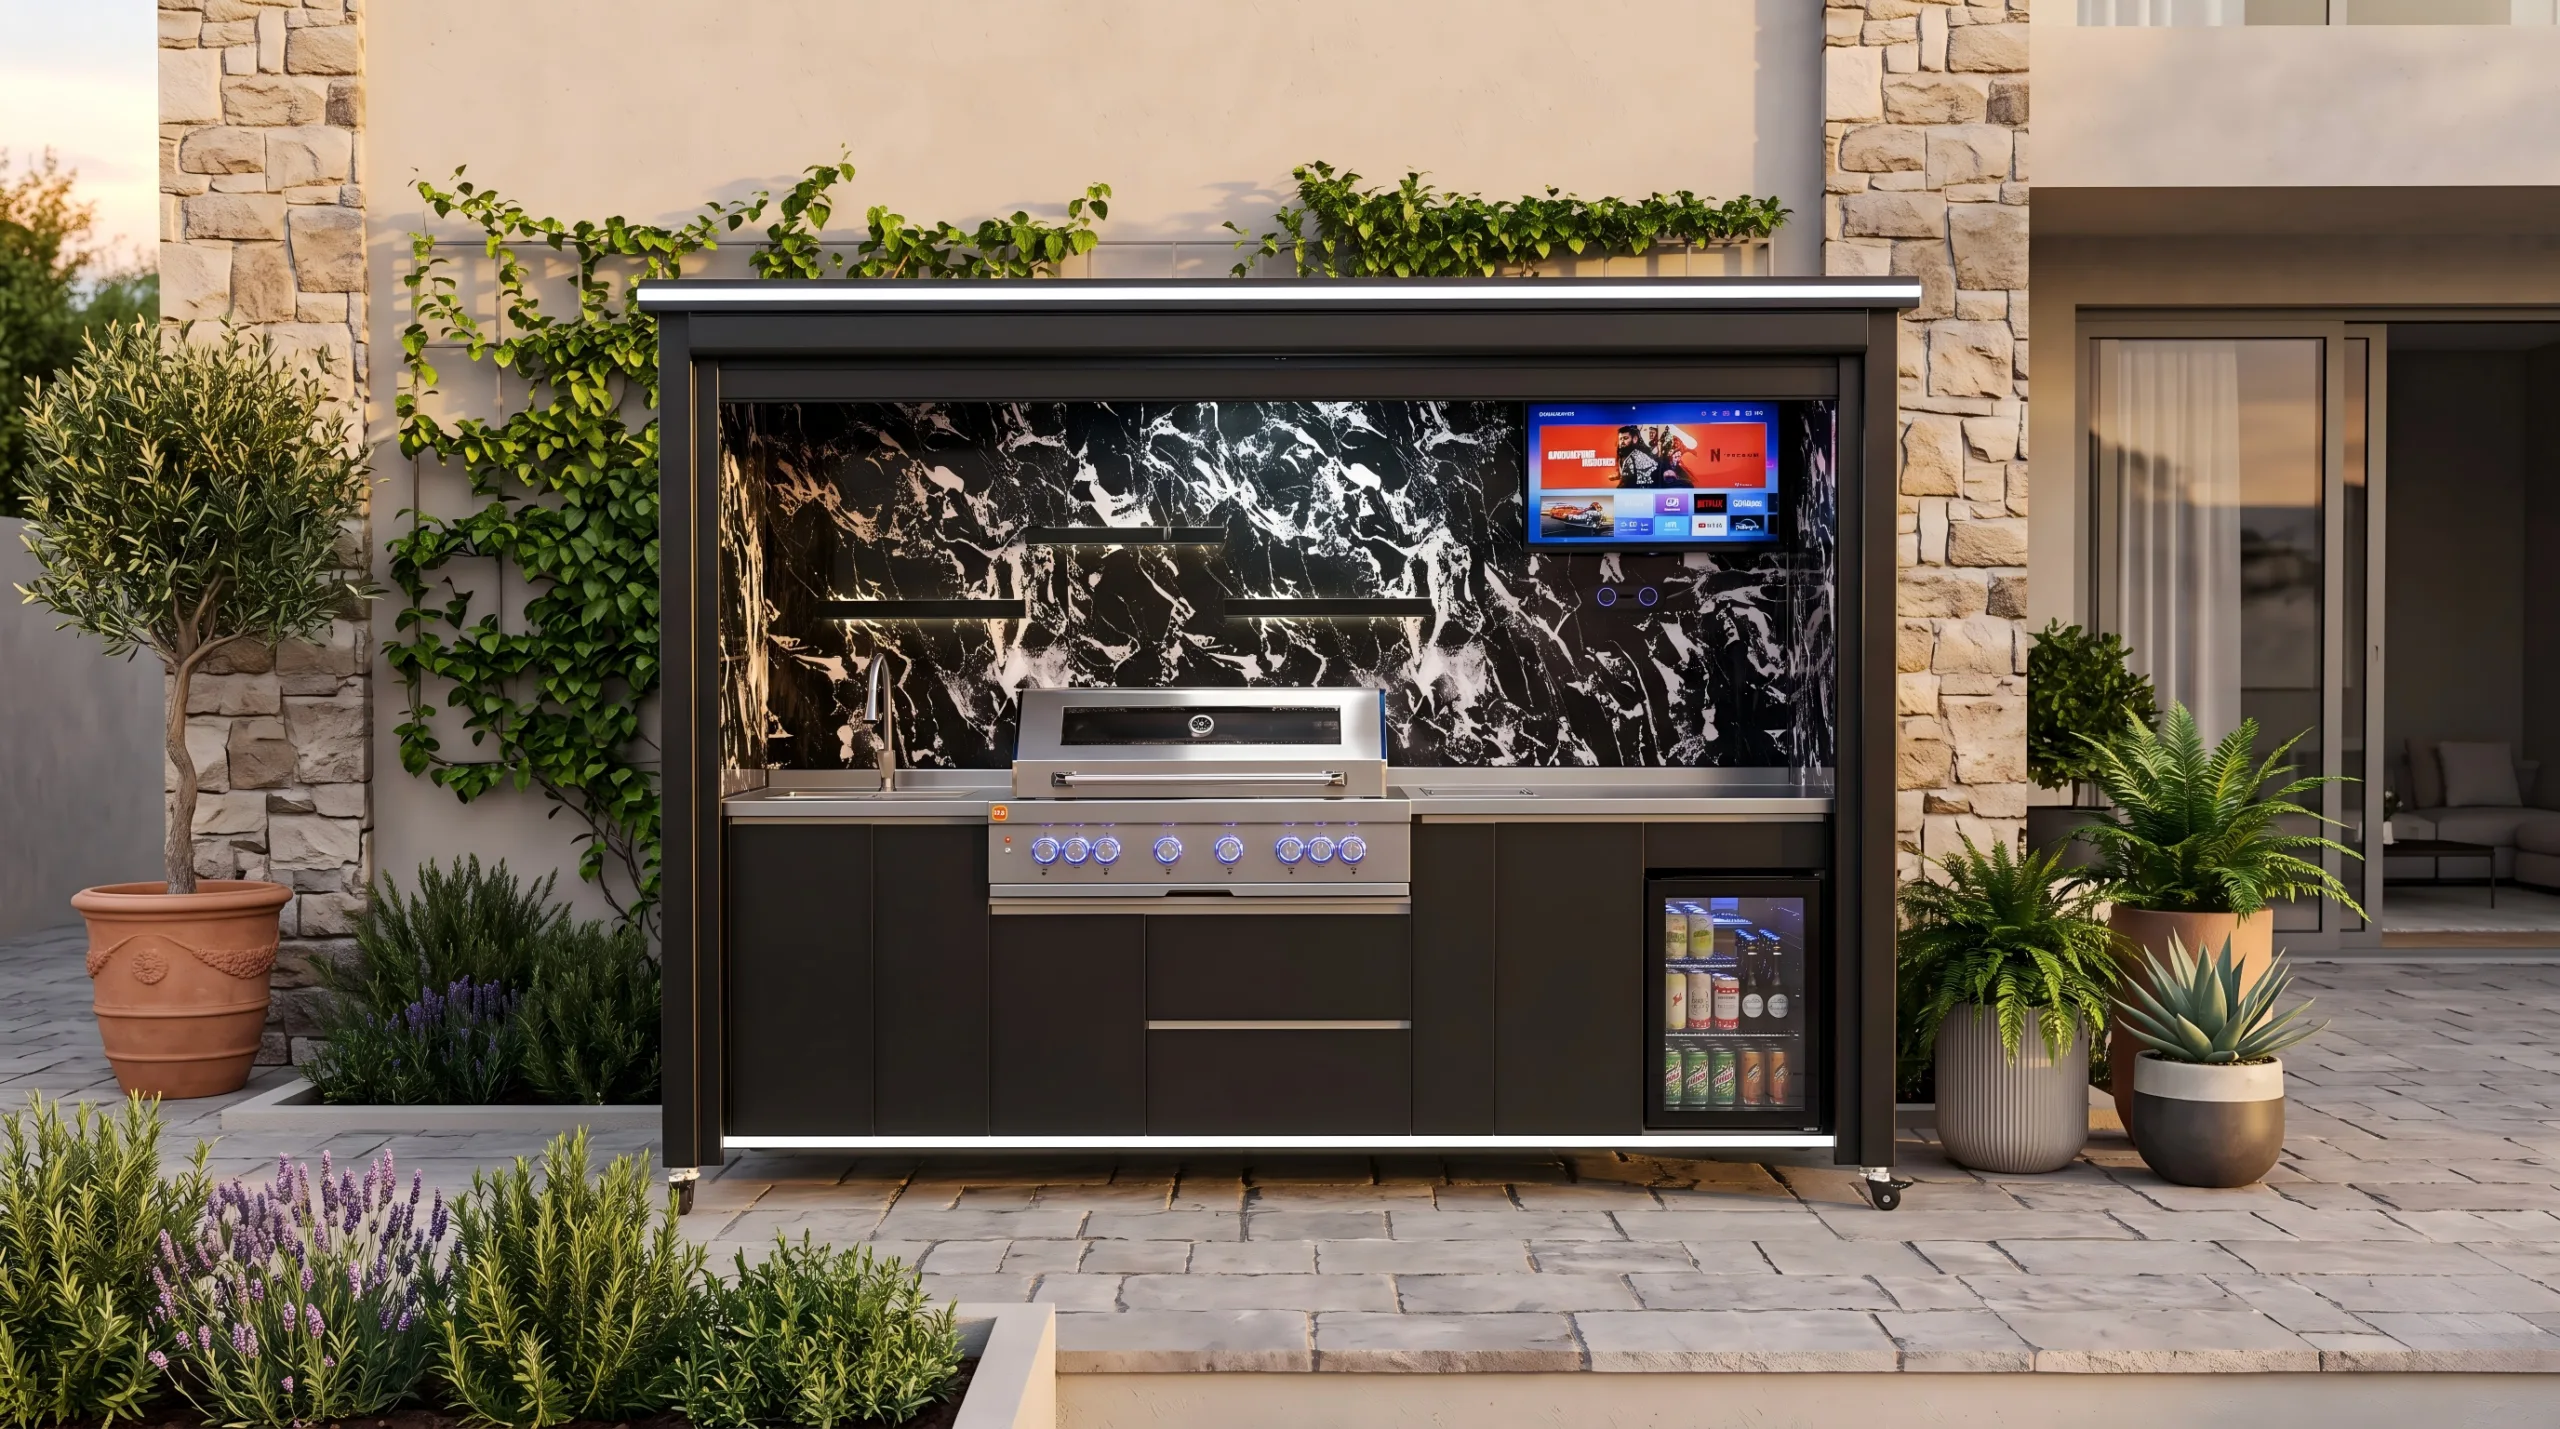
What should you look for in a year-round outdoor kitchen?
A year-round outdoor kitchen must solve five problems at the same time: exposure to rain and sun, safe cooking ventilation, convenient food preparation, protected storage, and reliable access to fuel, electricity, and water. The right solution depends on the climate and the way the space will be used.
For example, a kitchen in coastal Florida needs corrosion resistance, airflow, shade, and storm-conscious anchoring. A kitchen in Colorado needs protection from freeze-thaw cycles, drain-down planning, and surfaces that tolerate large temperature swings. In humid regions, ventilation and dry cabinet interiors matter. In hot, sunny regions, shade and heat-resistant finishes improve comfort.
1. Start with the cooking and preparation workflow
A useful outdoor kitchen is more than a grill placed beside cabinets. Plan a clear sequence for taking food from cold storage to preparation, cooking, serving, and cleanup. The grill should have landing space on both sides. The sink and refrigerator should remain close enough to reduce unnecessary movement, while still respecting the appliance manufacturer’s clearance requirements.
Allow open circulation behind the cook so guests do not cross the hot zone. If the kitchen includes bar seating, position it away from grill smoke and direct radiant heat. A compact straight-line layout can work for a small patio, while an L-shaped or U-shaped layout usually provides more counter area and separates cooking from entertaining.
2. Choose materials for the actual climate
Outdoor materials should tolerate moisture, sunlight, temperature changes, grease, and frequent cleaning. Powder-coated metal, exterior-rated stainless steel, aluminum, masonry, porcelain, and suitable stone or sintered surfaces are common options. The important question is not whether a material looks durable indoors, but whether the entire assembly—including hinges, fasteners, seals, and cabinet interiors—is designed for outdoor exposure.
Near salt air or swimming pools, ask about corrosion-resistant hardware and a maintenance routine. In freezing climates, avoid assemblies that trap water. Countertop joints, cabinet bases, and utility penetrations should shed water instead of holding it. Dark surfaces can become very hot in direct sun, so consider shade and surface color when the kitchen will be used in summer afternoons.
3. Decide how much weather protection you need
A roof or pergola protects the cook and reduces direct exposure, but it does not automatically make an outdoor kitchen weatherproof. Wind-driven rain can still reach appliances and cabinets. Retractable or rolling panels can add protection when the kitchen is not in use, while keeping the cooking area open during operation.
A protective enclosure must never be treated as a substitute for ventilation. Fuel-burning appliances should only operate with the required openings, clearances, and exhaust conditions. Any motorized door or shutter should be fully opened before cooking if that is required by the appliance and enclosure design.
4. Match the grill and fuel system to how you cook
Gas grills offer fast startup and precise temperature control. Charcoal creates a traditional live-fire experience. Wood or pellet cooking can add smoke flavor. A multi-fuel configuration can give households more flexibility, but it also requires thoughtful storage, fire safety, and utility planning.
Before buying, confirm the locally available fuel, the appliance’s approved installation method, and who will connect it. Permanent gas, electrical, and plumbing work should be completed according to applicable local codes and manufacturer instructions. Never assume that an indoor appliance can be safely installed outdoors.
5. Plan ventilation and heat clearance first
Ventilation is one of the most important design decisions. Smoke, grease, heat, and combustion gases need a safe path away from people and nearby structures. A roofed outdoor kitchen may require an outdoor-rated exhaust hood sized and positioned for the cooking equipment. The final design should follow the grill and hood manufacturers’ specifications.
Keep combustible finishes, ceilings, walls, furniture, and landscaping outside required clearance zones. An enclosure should also include any appliance vents specified by the manufacturer. Because requirements differ by equipment and jurisdiction, review the plan with qualified local installers before construction.
6. Protect water, drainage, and electrical connections
A sink improves food preparation and cleanup, but outdoor plumbing needs a drainage plan and climate-appropriate freeze protection. In cold regions, accessible shutoff valves and winterization procedures can prevent damage. Outdoor receptacles, lighting, and appliance circuits should use equipment and protection approved for the location.
Place switches and outlets where they are convenient but protected from splash and heat. Leave service access for future repairs. Hiding every connection behind permanent finishes may create an attractive installation on day one but make maintenance much harder later.
7. Use storage that stays dry and easy to clean
Outdoor cabinets should resist water entry and allow the interior to dry. Use enclosed storage for cookware and serving tools, and avoid leaving food outdoors where heat, humidity, and pests can reach it. A pull-out waste system helps keep the preparation area organized, while removable bins and smooth cabinet interiors simplify cleaning.
Store charcoal, propane cylinders, cleaning chemicals, and combustible supplies only in locations designed for them. Do not place a propane cylinder inside an ordinary sealed cabinet. Follow the appliance and fuel supplier’s storage instructions.
8. Compare a modular kitchen with a site-built kitchen
A modular outdoor kitchen can shorten installation time and provide a coordinated appearance because the structure, doors, appliances, and storage are designed as a system. A site-built kitchen may offer greater customization for unusual patios or architectural finishes. The better choice depends on site access, budget, schedule, utility locations, and the level of customization required.
When comparing systems, request overall dimensions, appliance specifications, utility connection points, foundation requirements, delivery access, and warranty information. A clear technical package is more valuable than comparing appearance alone.
A practical outdoor kitchen checklist
- Measure the patio, access route, setbacks, and overhead clearance.
- Identify the local climate risks: sun, salt, wind, rain, humidity, snow, or freezing.
- Choose the grill and other heat-producing appliances before finalizing cabinetry.
- Confirm ventilation, clearances, and utility requirements from the manufacturers.
- Provide counter landing space, lighting, dry storage, waste handling, and service access.
- Verify permits and local requirements with qualified professionals.
- Create a maintenance and seasonal shutdown plan.
Example: an enclosed luxury outdoor kitchen
For homeowners who want integrated cooking, storage, and weather protection, the Yuquanqiu Luxury Model Outdoor Kitchen with a smart weather-controlled roller door and triple-fuel grill shows how these functions can be combined in one coordinated structure. Product suitability, installation details, utility connections, and local compliance should be confirmed for each project before ordering.
Frequently Asked Questions
Can an outdoor kitchen stay outside all year?
Yes, when the structure, appliances, utilities, and finishes are designed for the local climate and maintained correctly. Cold climates may require plumbing winterization, while coastal locations need additional corrosion care.
Does a covered outdoor kitchen need ventilation?
Yes. A roof or enclosure can trap heat, smoke, grease, and combustion gases. Follow the cooking appliance and outdoor hood manufacturers’ ventilation and clearance requirements.
What countertop is best for an outdoor kitchen?
There is no single best countertop for every climate. Choose an exterior-rated surface that tolerates sunlight, moisture, temperature changes, stains, and routine cleaning. Review installation joints and substrate requirements as carefully as the visible material.
Should an outdoor kitchen use gas, charcoal, or wood?
Gas is convenient and controllable; charcoal and wood provide live-fire flavor. A multi-fuel system offers flexibility, provided that fuel storage, ventilation, clearances, and local installation requirements are addressed.
Do I need a permit for an outdoor kitchen?
Permit requirements vary by location and project scope. Permanent gas, electrical, plumbing, structural, and covered cooking installations commonly require professional review. Check with the local authority before construction.
Planning note: This guide provides general product-selection information. Final installation must follow the appliance instructions and applicable local requirements.