Pro Program Live Chat +8619050185756

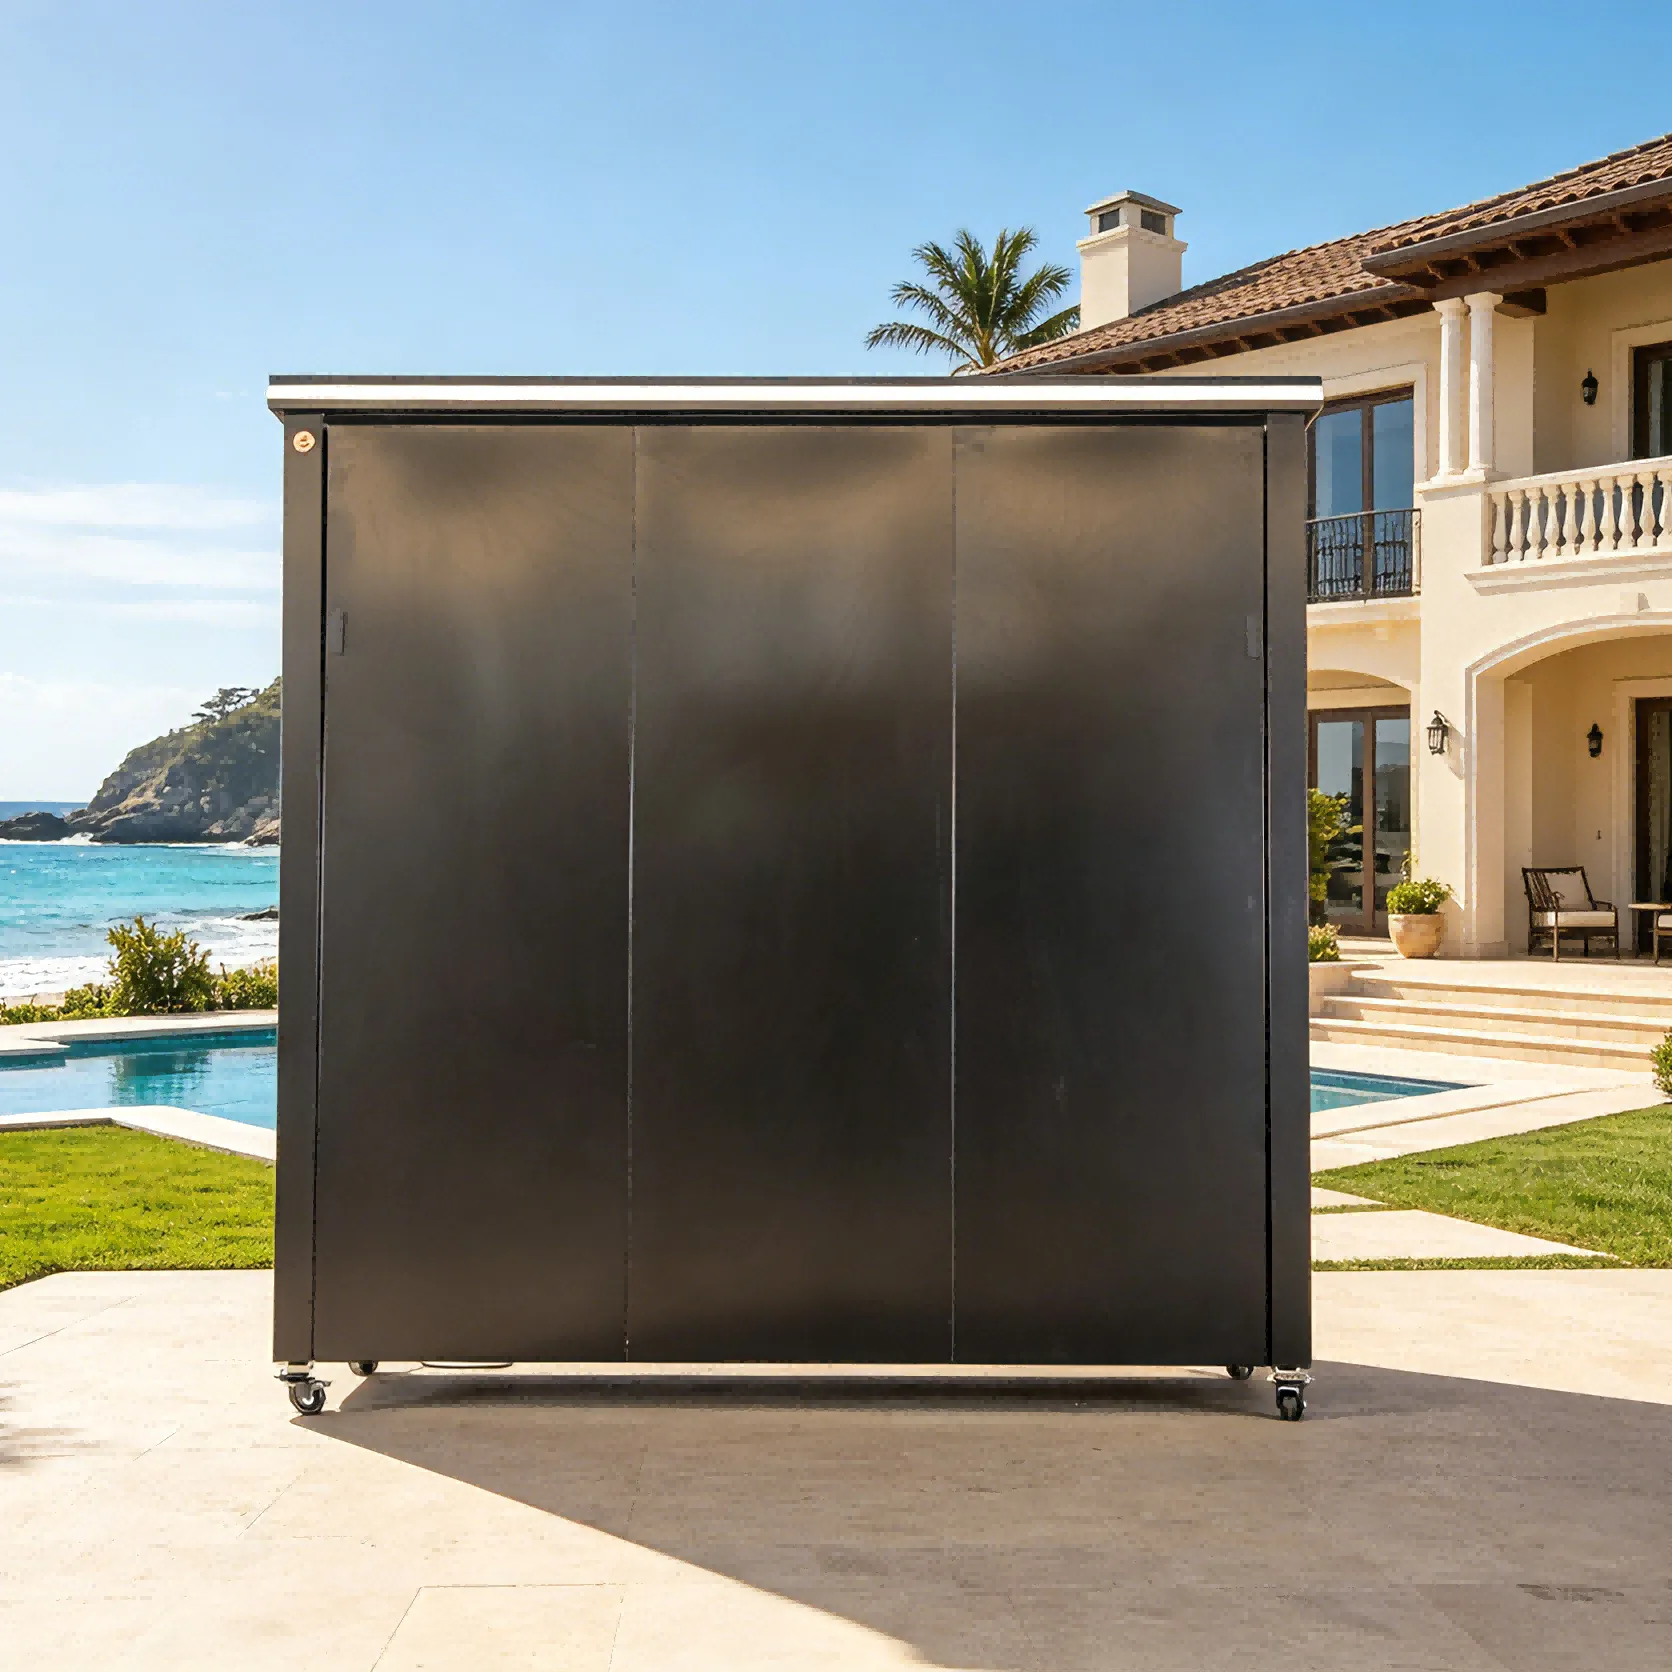
Before an outdoor kitchen arrives, confirm that the delivery vehicle can reach the property, the packaged unit can travel from the street to the patio, the unloading equipment is arranged, and the final location is level, accessible, and ready for any required utilities. A short site review can prevent the most expensive delivery-day problems: a crate that will not fit through a gate, a truck that cannot use the driveway, a patio that is not ready, or gas and electrical connections that were placed in the wrong location.
This checklist is designed for U.S. homeowners, contractors, dealers, and outdoor-living professionals preparing for a large modular or preassembled outdoor kitchen. Exact requirements vary by model, carrier, property, and local rules, so the final product documentation and written delivery agreement should always control.
Why Delivery Planning Matters for an Outdoor Kitchen
An outdoor kitchen may arrive as several cabinets, a group of modules, or a large coordinated unit. Even when the finished kitchen fits comfortably on the patio, its shipping package may be taller, wider, or less maneuverable than expected. Protective crating, pallets, appliance boxes, and lifting points all affect the route.
Delivery planning also involves more than physical clearance. Someone must know who is responsible for unloading, what equipment will be available, where the shipment will be placed, and how visible damage will be documented. If these details are not agreed upon in advance, the carrier, homeowner, and installer may arrive with different expectations.
Step 1: Confirm What Is Being Delivered
Ask for the final model name, number of pieces, packaged dimensions, packaged weight, and a description of how the shipment is secured. Do not plan from a showroom photograph or the finished product dimensions alone. A kitchen that looks compact when closed may still require substantial clearance while it is on a pallet or inside a crate.
Confirm whether appliances ship inside the cabinets or in separate cartons. Ask whether doors, roofs, side counters, wheels, handles, or other projecting components affect handling. If a crane, forklift, pallet jack, liftgate, or specialized rigging point is required, it should be identified before the delivery appointment.
Information to request from the seller
- Final product model and configuration
- Number of packages, pallets, or crates
- Packaged length, width, height, and weight
- Required unloading equipment
- Approved lifting and handling points
- Whether the product can be moved in sections
- Items that must remain upright
- Packaging disposal responsibility
Step 2: Understand the Delivery Service
Terms such as freight, curbside, liftgate, and residential delivery do not always mean the same thing in every quotation. Ask the seller to define the service in writing. In particular, determine whether the carrier will only remove the shipment from the truck, place it at the curb or driveway, move it to a garage, or deliver it to a prepared backyard location.
Never assume that a driver will move a heavy kitchen across grass, gravel, slopes, stairs, or finished landscaping. Also confirm whether the carrier provides a delivery appointment and how much notice you will receive. If a contractor or equipment operator must be present, coordinate the schedules before accepting the appointment.
Step 3: Check Truck and Driveway Access
Start at the street rather than the patio. Look for narrow roads, restricted turns, low tree branches, overhead wires, gated entrances, steep grades, weight-limited bridges, cul-de-sacs, and community delivery-hour rules. A passenger vehicle reaching the house does not prove that a freight truck can do the same.
Measure the driveway width at its narrowest point and note tight turns or changes in slope. Identify a safe place for the truck to stop without blocking traffic or damaging the property. If the delivery cannot be made directly to the home, arrange a suitable transfer point and appropriate smaller equipment in advance.
Step 4: Measure the Entire Route to the Patio
Walk the proposed path from the unloading point to the final location. Measure every gate, doorway, side-yard passage, corner, overhang, and change in elevation. Use the packaged dimensions—not just the kitchen dimensions—and allow extra room for handlers and turning.
Pay special attention to air-conditioning equipment, utility meters, fence posts, hose bibs, roof eaves, pool equipment, and landscaping that reduce usable width. A route may be wide enough in a straight line but impossible at a 90-degree corner. Sketching the route with measurements is often more useful than sending a single photograph.
Route-measurement checklist
- Narrowest gate or passage width
- Lowest overhead clearance
- Tightest corner and available turning area
- Number and height of steps
- Ground surface: concrete, pavers, gravel, lawn, or soil
- Maximum slope
- Soft ground, irrigation, drains, or septic areas
- Temporary obstacles that must be removed
Step 5: Choose the Right Moving and Unloading Equipment
The appropriate equipment depends on the product weight, packaging, route, and ground conditions. A pallet jack works only on a sufficiently hard, smooth surface and cannot solve stairs or soft lawn. A forklift requires operating room and a surface capable of supporting it. A crane or compact material handler may solve a difficult route, but it introduces reach, setup, overhead-clearance, and property-protection considerations.
Use qualified operators and follow the manufacturer’s handling instructions. Do not improvise lifting points or place people beneath a suspended load. If the product includes glass, stone, appliances, moving panels, or a powered roof, confirm any transport locks and handling precautions before movement.
Step 6: Prepare the Final Placement Area
The destination should be complete enough to receive the product safely. Confirm the required footprint and service clearances. Check that the surface is level, stable, properly drained, and suitable for the verified finished weight. Pavers, decks, rooftops, and elevated terraces may require review by an appropriate local professional.
Plan room for doors, drawers, appliance lids, ventilation openings, service panels, and any movable counters or roof components. The kitchen should not block required exits, pool access, utility equipment, drainage paths, or routine maintenance routes.
When comparing layouts, review the current Yuquanqiu outdoor kitchen product collection and request the exact drawing for the model under consideration. Product photographs are helpful for style, but a final dimensioned drawing is the appropriate basis for site preparation.
Step 7: Coordinate Utilities Before Arrival
Gas, electricity, water, drainage, ventilation, and grounding requirements vary by appliance and configuration. Obtain the final installation documents before rough-in work begins. Utility locations based on an earlier model or a preliminary rendering may not align with the delivered kitchen.
Gas work, electrical work, plumbing, structural review, fire clearances, and permits should be handled by appropriately qualified professionals and the relevant local authority. Do not connect or operate appliances until the installation has been completed according to the manufacturer’s instructions and applicable local requirements.
Step 8: Create a Delivery-Day Inspection Plan
Assign one person to receive the shipment and keep the order documents, carrier information, seller contact, and product list available. Before signing, inspect the exterior packaging from every side. Photograph punctures, crushed corners, leaning crates, broken bands, water exposure, or missing packages. Note visible damage on the carrier documentation rather than relying only on a later email.
After unloading, follow the seller’s written instructions for reporting concealed damage or missing items. Keep the packaging until the initial inspection is complete if doing so is safe and practical. Do not operate a visibly damaged gas or electrical appliance.
Homeowner, Contractor, and Seller Responsibilities
| Task | Usually needs written confirmation from |
|---|---|
| Packaged dimensions and weight | Seller or manufacturer |
| Freight service and unloading scope | Seller and carrier |
| Property and route measurements | Homeowner or site contractor |
| Equipment and qualified operator | Delivery or installation contractor |
| Foundation and structural suitability | Qualified local professional |
| Utility rough-ins and connections | Licensed local trades as required |
| Delivery inspection and documentation | Designated receiver |
Final 48-Hour Checklist
- Reconfirm the appointment window and delivery contact.
- Verify the number of packages expected.
- Clear and measure the complete route one final time.
- Confirm unloading equipment and operator arrival.
- Protect paving, walls, gates, landscaping, and pool edges.
- Keep children and pets away from the work zone.
- Have photographs, drawings, and order documents available.
- Prepare a safe temporary staging location.
- Charge a phone or camera for delivery documentation.
- Do not schedule utility activation before the product is safely positioned and inspected.
Frequently Asked Questions
Will a freight carrier move the outdoor kitchen into my backyard?
Not necessarily. The exact service must be confirmed in writing. Curbside or residential freight service may not include movement across the property, stairs, unpacking, assembly, or final placement.
Should I measure the kitchen or the shipping crate?
Use the packaged dimensions for delivery-route planning. The crate, pallet, protective frame, and lifting equipment may require more room than the finished kitchen.
Can a pallet jack move an outdoor kitchen across grass?
A standard pallet jack is intended for a firm, smooth surface and is generally not a solution for lawn, loose gravel, steps, or uneven ground. Ask a qualified material-handling provider to select suitable equipment for the actual route and verified weight.
When should utility connections be installed?
Plan utilities from the final approved product documentation. Some rough-in work may happen before delivery, but final connections and commissioning should occur only after placement and inspection by appropriately qualified professionals.
What should I do if the crate arrives damaged?
Photograph the condition, identify affected package numbers, note visible damage on the carrier paperwork, and follow the seller’s written reporting procedure promptly. Do not operate equipment that may be unsafe.
Do I need a permit for an outdoor kitchen?
Permit and inspection requirements depend on the location and project scope. Contact the relevant local authority and qualified professionals regarding structural work, gas, electricity, plumbing, fire safety, and zoning before installation.
A Better Delivery Starts Before the Truck Arrives
The best time to solve an access problem is before the kitchen is shipped. Confirm the exact package, define the freight service, measure the complete path, choose proper handling equipment, prepare the final location, and document the delivery. These steps make the process safer and give the homeowner, carrier, and contractor a shared plan for getting the outdoor kitchen from the truck to its intended place.