Pro Program Live Chat +8619050185756

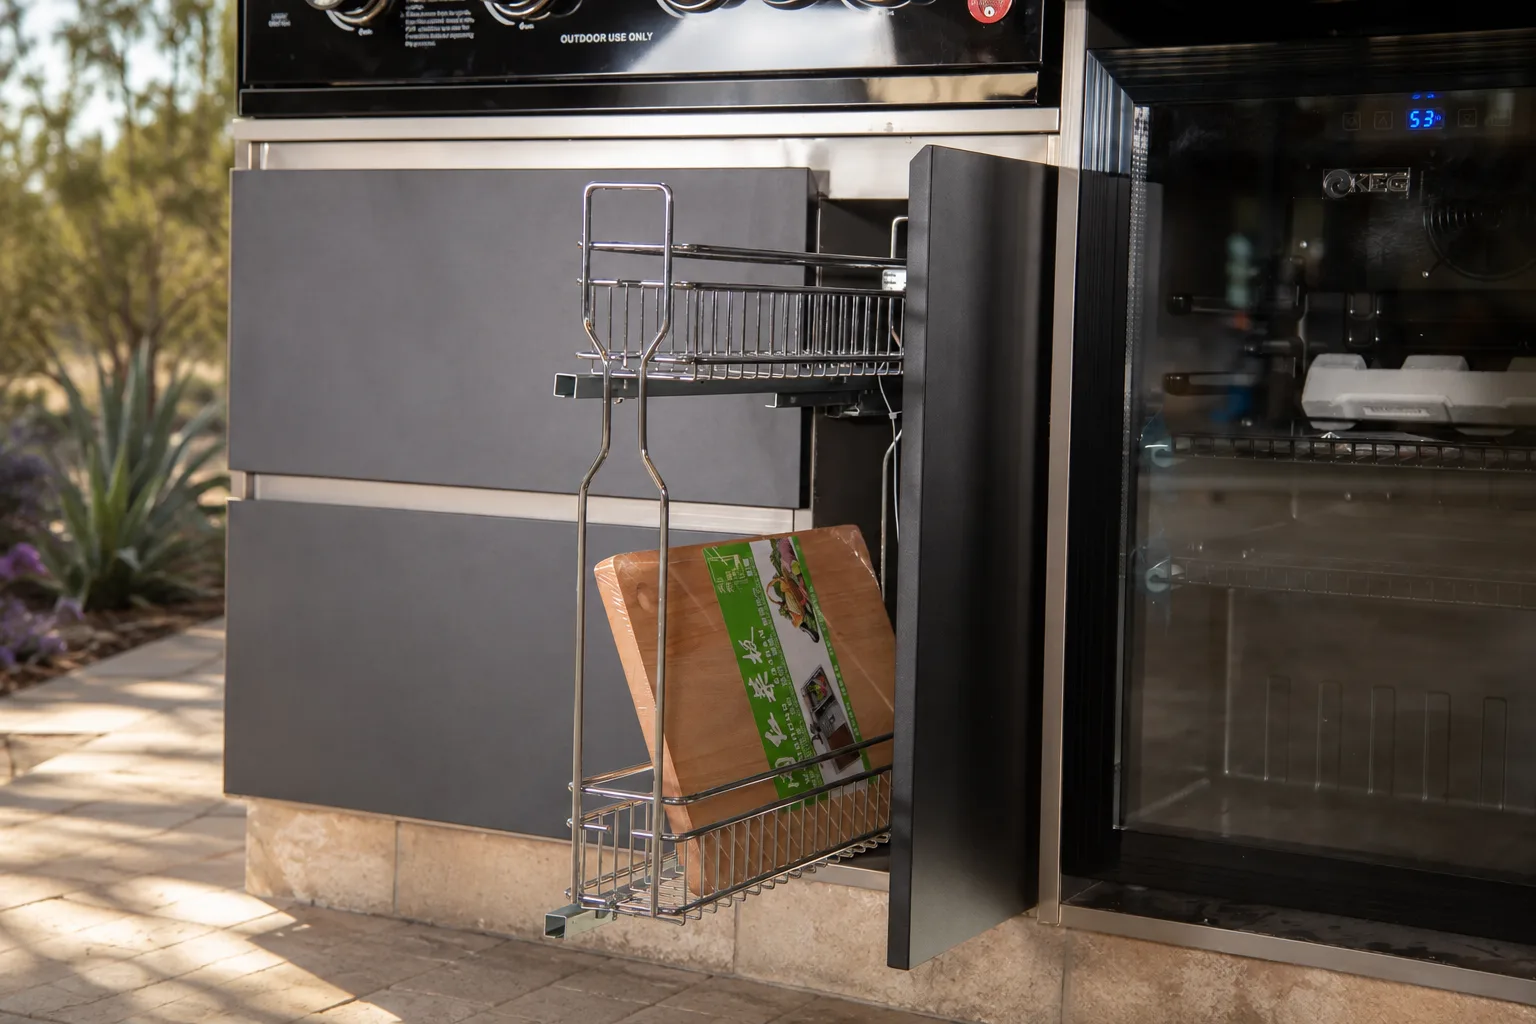
Put trash and recycling near the outdoor kitchen’s preparation and cleanup zones, but away from grills, burners, refrigeration ventilation, dining seats, and direct sun. A pull-out cabinet can keep containers discreet and easy to reach, provided it is designed for the load, weather, airflow, and cleaning needs. Gas, electricity, plumbing, fire clearances, cabinet ventilation, structures, and permits must follow model-specific documentation and qualified local professionals.
Why location matters more outdoors
Indoor kitchens benefit from conditioned air and tight building envelopes. Outdoor kitchens face heat, rain, humidity, wind, insects, wildlife, pollen, and grease. A bin that works indoors may hold odors, collect water, or attract pests outside. The route used to remove a full bag also matters: carrying waste through the cooking aisle or across a pool deck creates unnecessary conflicts.
Plan waste storage before cabinets are ordered. Retrofitting a bin into any available opening can block ventilation, hide a utility shutoff, or overload drawer slides.
Choose the best work zone
Preparation zone
Prep creates packaging, peels, trimmings, and empty containers. A pull-out beside the clear prep counter allows scraps to move directly into the bin without crossing the kitchen. Keep it separate from drawers containing clean tools and food-contact items.
Cleanup zone
A location near the sink works well for plates and post-meal cleanup. Check plumbing access and leaks regularly. The bin must not conceal shutoffs, drains, traps, electrical components, or service panels. Local plumbing and electrical requirements control the finished installation.
Serving zone
A small recycling container near the beverage area can capture cans and bottles without sending guests into the cooking zone. Avoid placing the main trash bin beside seats, where odors and insects reduce comfort.
Compare common placement options
| Location | Advantage | Concern |
|---|---|---|
| Pull-out beside prep counter | Fast disposal while cooking | Needs washable surfaces and sufficient slide capacity |
| Cabinet near sink | Convenient for cleanup | Must preserve plumbing and service access |
| Island end facing guests | Easy recycling access | Can expose odors or narrow circulation |
| Freestanding covered bin | Flexible and easy to remove | May look less integrated and needs wind stability |
| Remote waste station | Keeps odors away from dining | Longer route encourages temporary countertop clutter |
Many kitchens benefit from a small working bin near prep and a larger secured station nearby. This keeps the island efficient without storing several days of waste inside it.
Keep bins away from heat and utilities
Do not place a waste pull-out inside a grill enclosure or wherever an appliance manufacturer prohibits storage. Bags, paper, cardboard, and food residue are combustible. Heat can also intensify odors and damage liners or containers.
Never cover a cabinet vent or appliance grille with a bin or bag. Gas enclosures require fuel-specific planning, approved components, and professional review. A trash cabinet is not an acceptable place for a propane cylinder, regulator, electrical connection, or cleaning chemical unless every applicable instruction explicitly allows the arrangement.
Use a container made for the job
Select a rigid, removable container that fits the pull-out without rubbing the cabinet or preventing full closure. Smooth washable surfaces are easier to maintain than woven or porous materials. A fitted lid can help with odors and pests, but it should not interfere with the cabinet mechanism.
Confirm the combined weight of the container, waste, and any recycling with the cabinet manufacturer’s load guidance. Bottles can become heavy quickly. Avoid a tall unstable bin that tips when the drawer opens.
Plan recycling around local habits
Recycling rules vary by community. Some programs accept mixed containers; others require separation. Design labels and compartments around the real local collection method rather than an idealized system. Keep glass stable and do not overfill a pull-out with heavy bottles.
A removable caddy for cans and bottles can be carried directly to the main recycling container. This may be more practical than dedicating a large outdoor cabinet to materials that should be removed after each gathering.
Control odor, moisture, and pests
Empty food waste after cooking instead of leaving it overnight. Wipe spills promptly, wash the removable bin, and let all surfaces dry before closing the cabinet. Do not line the cabinet with absorbent cardboard or fabric.
Inspect door seals, gaps, drainage, and nearby landscaping. A tightly closed cabinet is not necessarily pest-proof, especially if food residue remains around handles or under the island. Follow local wildlife guidance and use secure external waste storage where needed.
Design a clean removal route
A full bag should travel from the cabinet to the main waste container without passing close to a hot grill, occupied chairs, pool gate, or narrow step. Check the route at night and while appliance doors are open. Add appropriate lighting without creating cords or trip hazards.
Place replacement liners where adults can reach them but away from heat, chemicals, and gas components. Keep the cabinet inventory minimal so technicians can inspect nearby equipment.
Trash and recycling planning checklist
- Locate waste beside prep or cleanup rather than inside the hot zone.
- Separate guest recycling access from the cook’s main aisle.
- Confirm the bin, pull-out, and slides can handle the expected load.
- Use removable, nonporous, washable containers.
- Keep ventilation, appliances, utilities, shutoffs, drains, and service panels clear.
- Protect bags and bins from heat, direct sun, rain, and wind.
- Match recycling compartments to local collection rules.
- Provide a simple route to the main outdoor waste containers.
- Empty food waste promptly and clean spills after each event.
- Have qualified professionals verify gas, electrical, plumbing, fire-clearance, and permit requirements.
Make the cabinet look intentional
A waste pull-out can align with surrounding drawer fronts so the kitchen remains visually calm. Wide pulls, soft-close hardware, and a stable interior frame make daily use easier. The front panel should not be mistaken for ordinary storage if opening it would conflict with a nearby appliance door.
Review Meta Lifestyle’s outdoor kitchen collection for integrated storage ideas. Confirm exact cabinet dimensions, load guidance, ventilation, and compatible accessories before choosing a bin.
Frequently Asked Questions
Can trash go under an outdoor sink?
It may fit, but the bin must not block plumbing, shutoffs, drains, electrical components, ventilation, or leak inspection. Verify the cabinet design and local professional guidance.
Should an outdoor trash cabinet be vented?
Ventilation needs depend on the cabinet system and what surrounds it. Do not add openings that admit water or interfere with gas or appliance requirements. Follow cabinet and appliance documentation.
How often should outdoor trash be emptied?
Remove food waste after each cooking session or gathering. Hot weather, wildlife, and pest activity may require faster removal. Recycling should not be allowed to overload the pull-out.
Can cleaning chemicals share the trash cabinet?
Separate chemicals from food waste and food-contact items, and follow label storage instructions. Never store them in a hot appliance or gas enclosure unless all applicable documentation permits it.
Is a double-bin pull-out better?
It can simplify trash and recycling separation when both containers remain easy to remove and the slides support the load. Measure actual local recycling volume before choosing bin sizes.
Can I retrofit a waste pull-out?
Possibly. Verify internal dimensions, frame strength, slide mounting, load capacity, door clearance, weather exposure, ventilation, and utility conflicts. Use approved accessories or a qualified installer.